Multipurpose CMS
Corporate, Business, Consultancy Website CMS
- created: 12/27/2018
- latest update: 02/14/2019
- by: Technoviable
- email: info@technoviable.com
Multipurpose CMS is a responsive Corporate, Business, Consultancy Website Content Management System (CMS).
Requirements
Multipurpose CMS was built using Laravel 5.7.*, this means that the same system requirements needed for Multipurpose CMS are the same as the system requirements for Laravel 5.7.
- PHP >= 7.1.3
- Node & NPM
- OpenSSL PHP Extension
- PDO PHP Extension
- Mbstring PHP Extension
- Tokenizer PHP Extension
- XML PHP Extension
- GD Image Library
-
file_get_contentsenabled -
file_put_contentsenabled - Zip Archive class
To learn more about the system requirements needed to run a Laravel 5.7 script checkout the following Server Requirements
Next, we’ll get started by learning how you can download the latest version of the script.
Installation
Carefully watch the installation video below:
After downloading the script you will need to unzip the multipurpose.zip file. Next you will want to copy the contents of the unzipped folder to your server.
Before continuing through the installation, you will need to create a MySQL database for your site. Make sure to have your database name, database user, and database password handy to continue through the installation.
After Moving all the necessary files to your server and creating a database you will want to perform the following 3 steps:
Step 1: Add Your Database Credentials - Next, you will need to add your database credentials to your environment config. In the root folder you will see a file called .env.example, you will want to rename this file to: .env. After renaming the file, open it up in a text editor and you should see something that looks similar to the following:
DB_CONNECTION=mysql
DB_HOST=127.0.0.1
DB_PORT=3306

APP_NAME=
APP_URL=
DB_DATABASE=
DB_USERNAME=
DB_PASSWORD=

MAIL_DRIVER=
MAIL_HOST=
MAIL_PORT=
MAIL_USERNAME=
MAIL_PASSWORD=
MAIL_ENCRYPTION=
...
Hint: Files with a
.before their name are called hidden files so if you do not see the.env.examplefile you may have to set hidden files to visible. Learn How To Show Hidden Files Here.
The lines that you will want to pay attention to will be the DB_HOST, APP_URL, DB_DATABASE, DB_USERNAME, and DB_PASSWORD. You will need to enter in the URL of your application as well as your database host, name, username, and password. An example might look like this:
DB_CONNECTION=mysql
DB_HOST=localhost
DB_PORT=3306

APP_NAME=YOUR_APP_NAME
APP_URL=http://website.com
DB_DATABASE=database_name
DB_USERNAME=database_user
DB_PASSWORD=database_pass

MAIL_DRIVER=smtp
MAIL_HOST=smtp.website.com
MAIL_PORT=mail_port_number_of_your_smtp
MAIL_USERNAME=mail_of_your_smtp
MAIL_PASSWORD=mail_password_of_your_smtp
MAIL_ENCRYPTION=tls
Step 2: Update Composer Dependencies - You will need to update the composer dependencies in your application by running the following command inside the root directory of your app.
composer update
If you have no composer in your server, then checkout how to install composer at-> https://getcomposer.org/download/
Step 3: Run the folowing command:
php artisan key:generate
Step 3: Install NPM - You will need to install the npm dependencies in your application. Checkout how to install npm . After installing npm you need to run the folowing command:
npm run dev
Set the Laravel search driver in your .env:
echo "SCOUT_DRIVER=tntsearch" >> .env
Next, we will need to import our database with some data located in the app:
database/multipurpose.sql
Lastly, you will need to make sure you storage symlink is created by running the following command:
php artisan storage:link
That’s it! The script is now installed and you will see your Multipurpose CMS website in front of you.
Default Login
After successfully installing the script you may want to login using the default admin account to add and edit all things to your site.
Login From the Back-end
Since you are an admin user you will also be able to visit: site.com/admin/login and you should see the new admin login screen in front of you.
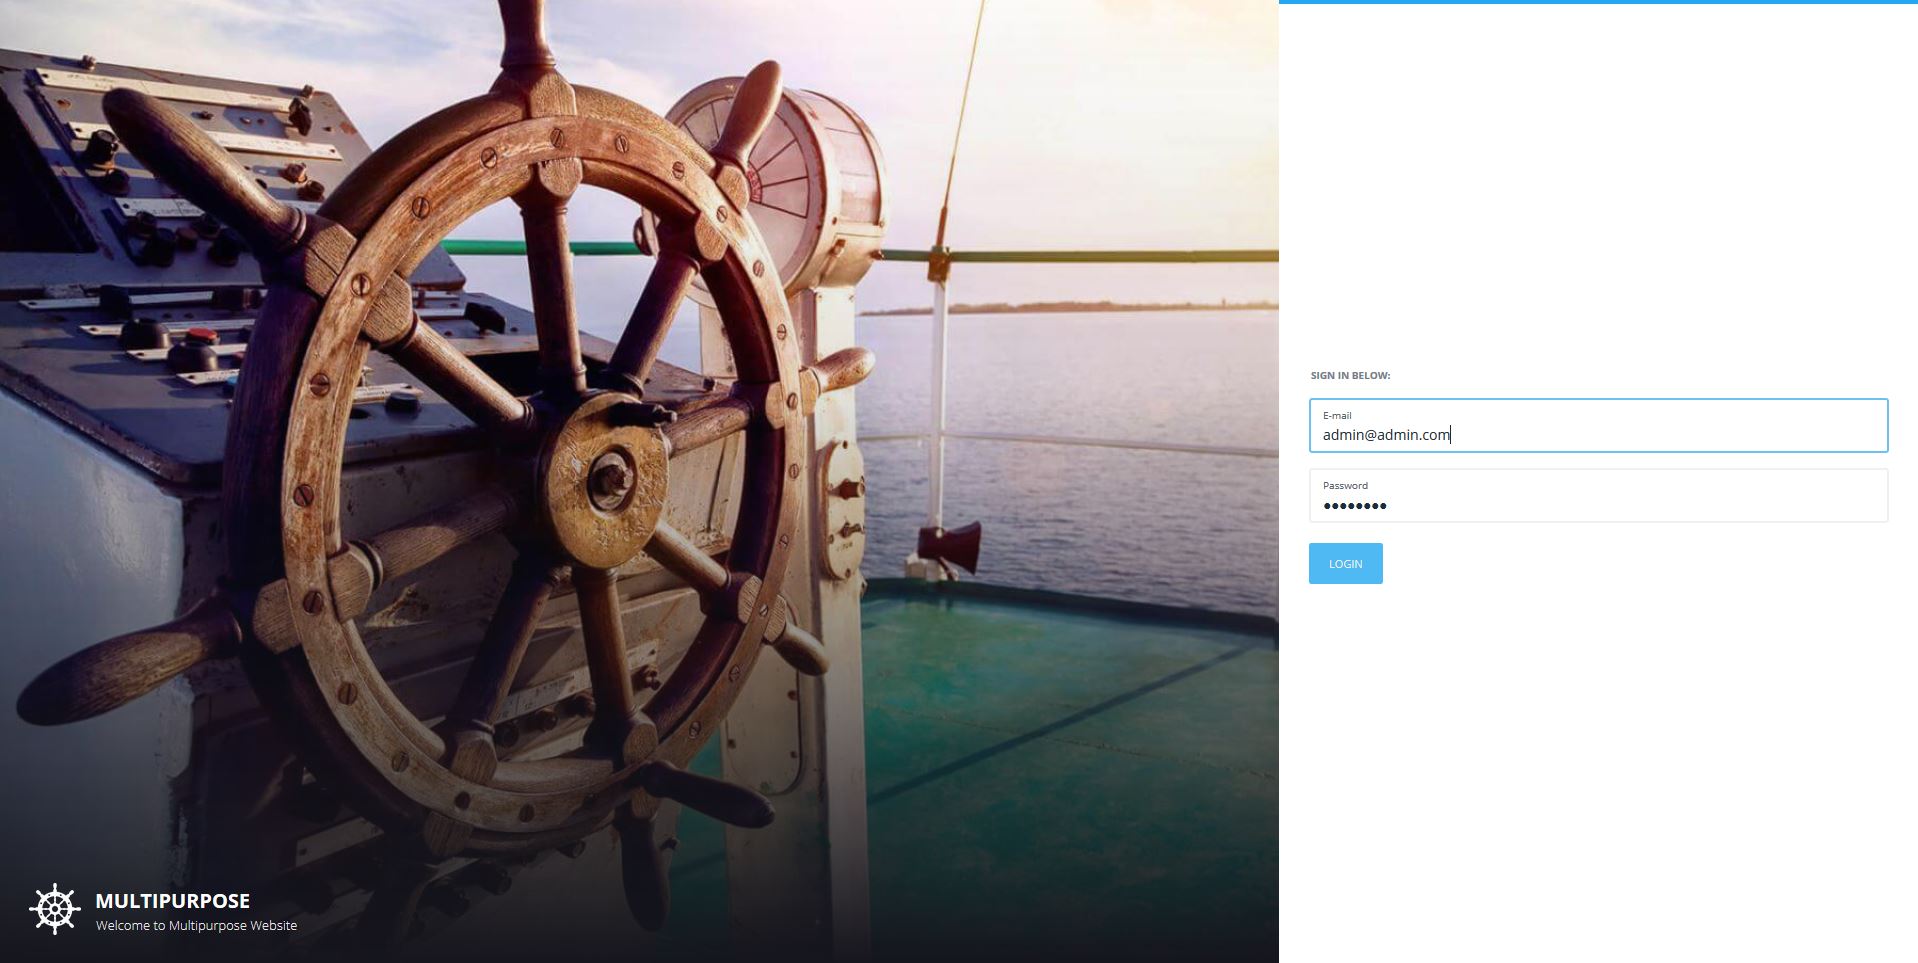
Simply enter the default Admin Login credentials:
email: admin@admin.com
password: password
And you will be redirected to your admin dashboard.
Changing your Admin Login credentials
You will probably wish to change your login credentials for your admin user. You can easily do this by visiting site.com/edit_profile after you are logged in and you can update your Name, Email, and Password.
Next, let’s move on to learning more about the admin dashboard.
Admin Dashboard
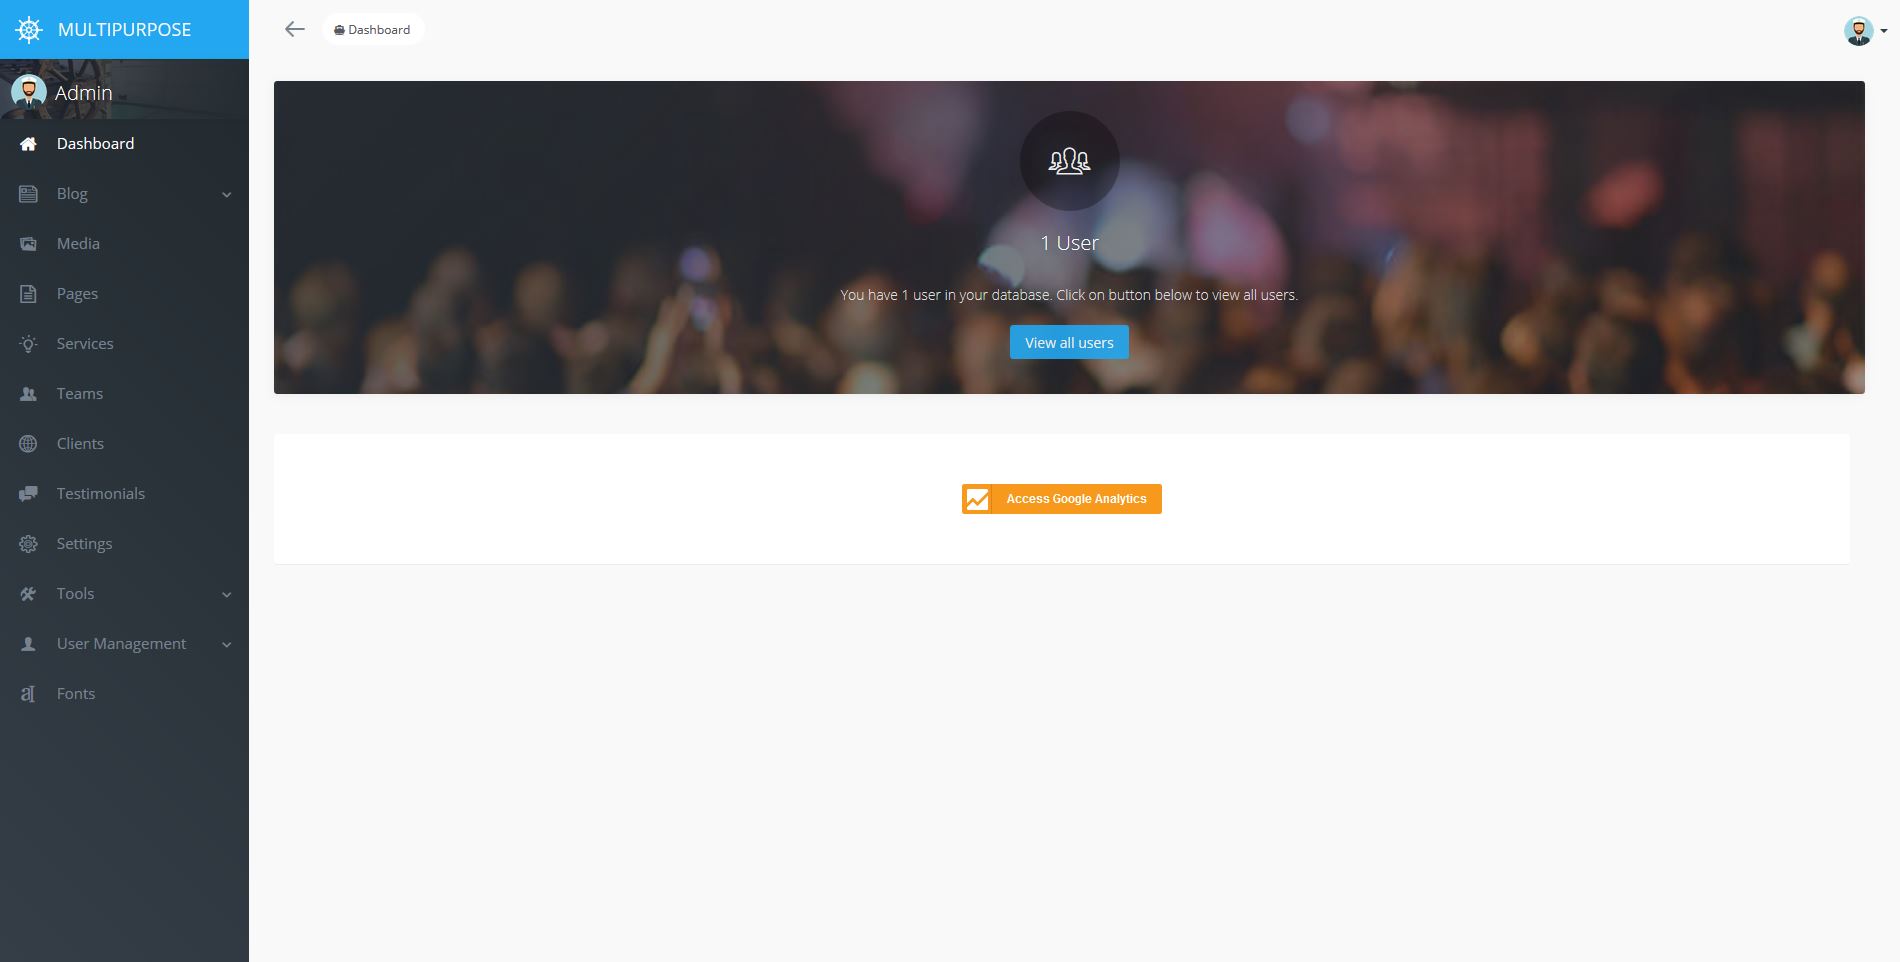
After you have logged in with the admin user you can then visit your site at site.com/admin and you will find yourself in the Admin Dashboard
To the left is your main navigation where you can visit the following sections respectively.
- Dashboard
- Media
- Pages
- Services
- Teams
- Clients
- Testimonials
- Settings
- Menu Builder
- User Management
- Fonts
Dashboard
The Dashboard is where you will find basic information about your website including how many users are on your site.
You can also view Analytics data if you add your Google Analytics information into your Site settings. You can read more about how to do this here https://webman.io/blog/post/setup-google-analytics-for-laravel-voyager
Media Manager
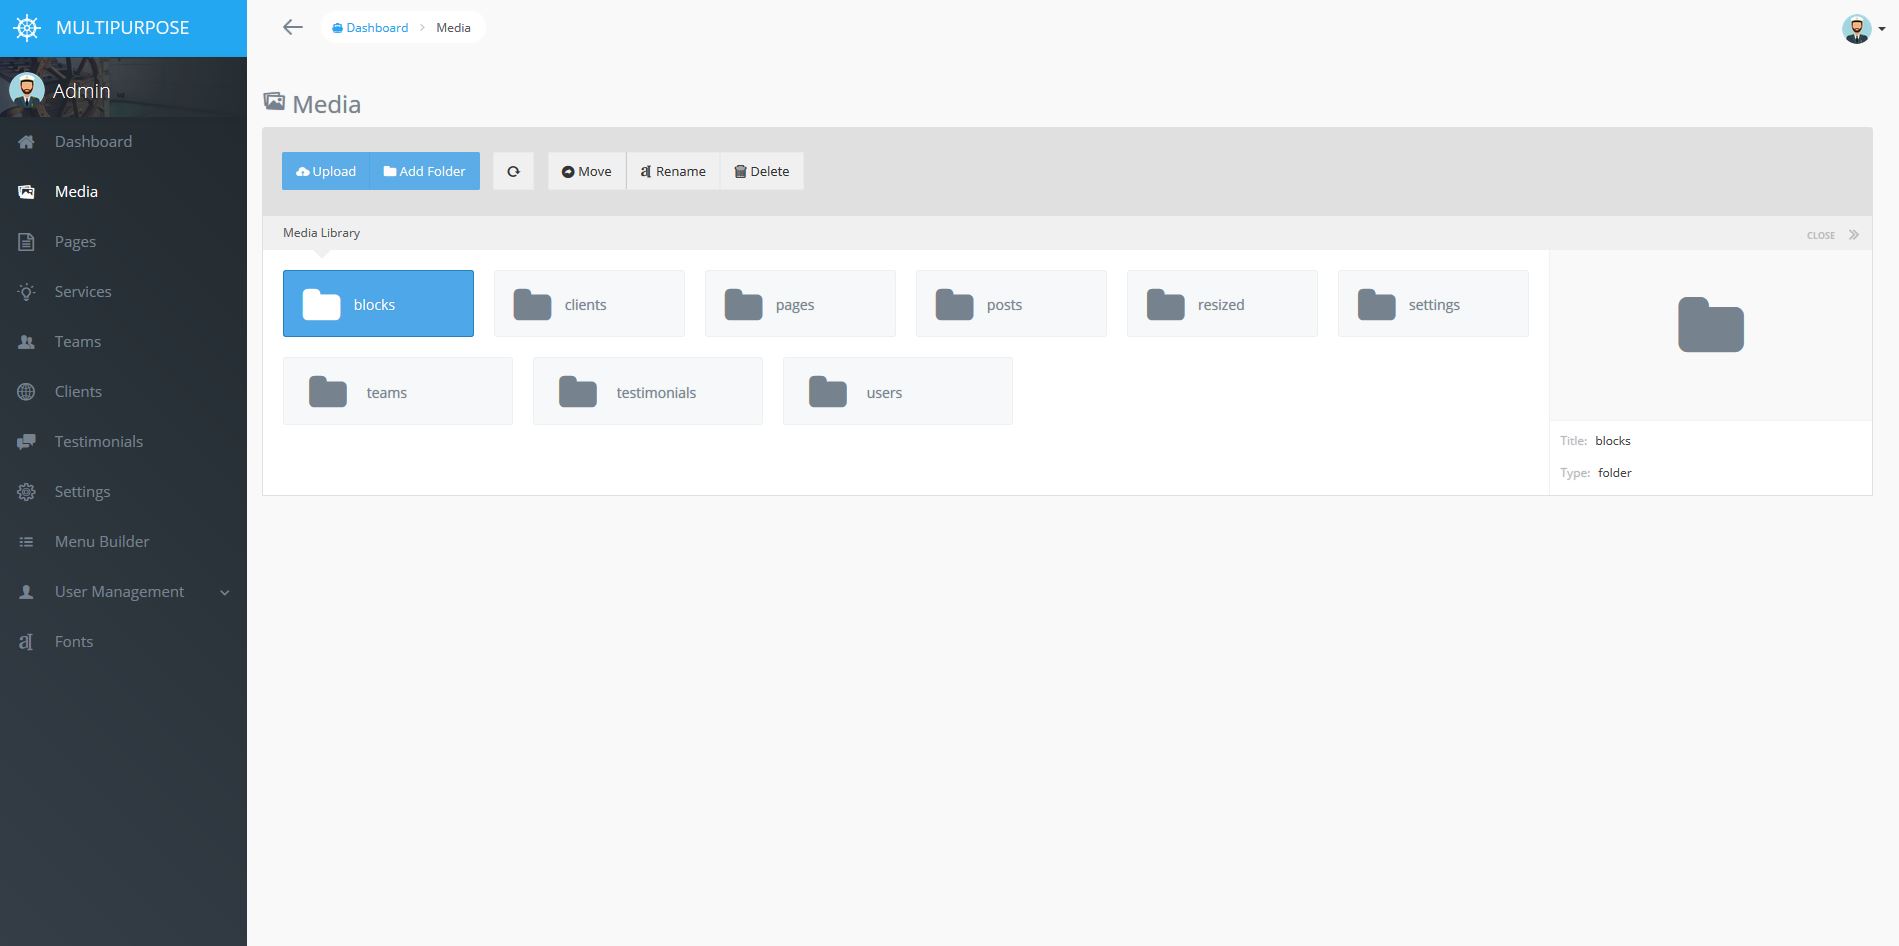
Using the media manager you can easily manage any images or content that gets added to your site. You may wish to rename or delete files and folders as well as add new content through the media manager.
Warning: Be careful when deleting content because if you delete images that are linked to pages or clients, blocks, posts, settings, teams, testimonials, users. They may show a broken image when that pages or clients, blocks, posts, settings, teams, testimonials, users are being viewed.
Pages
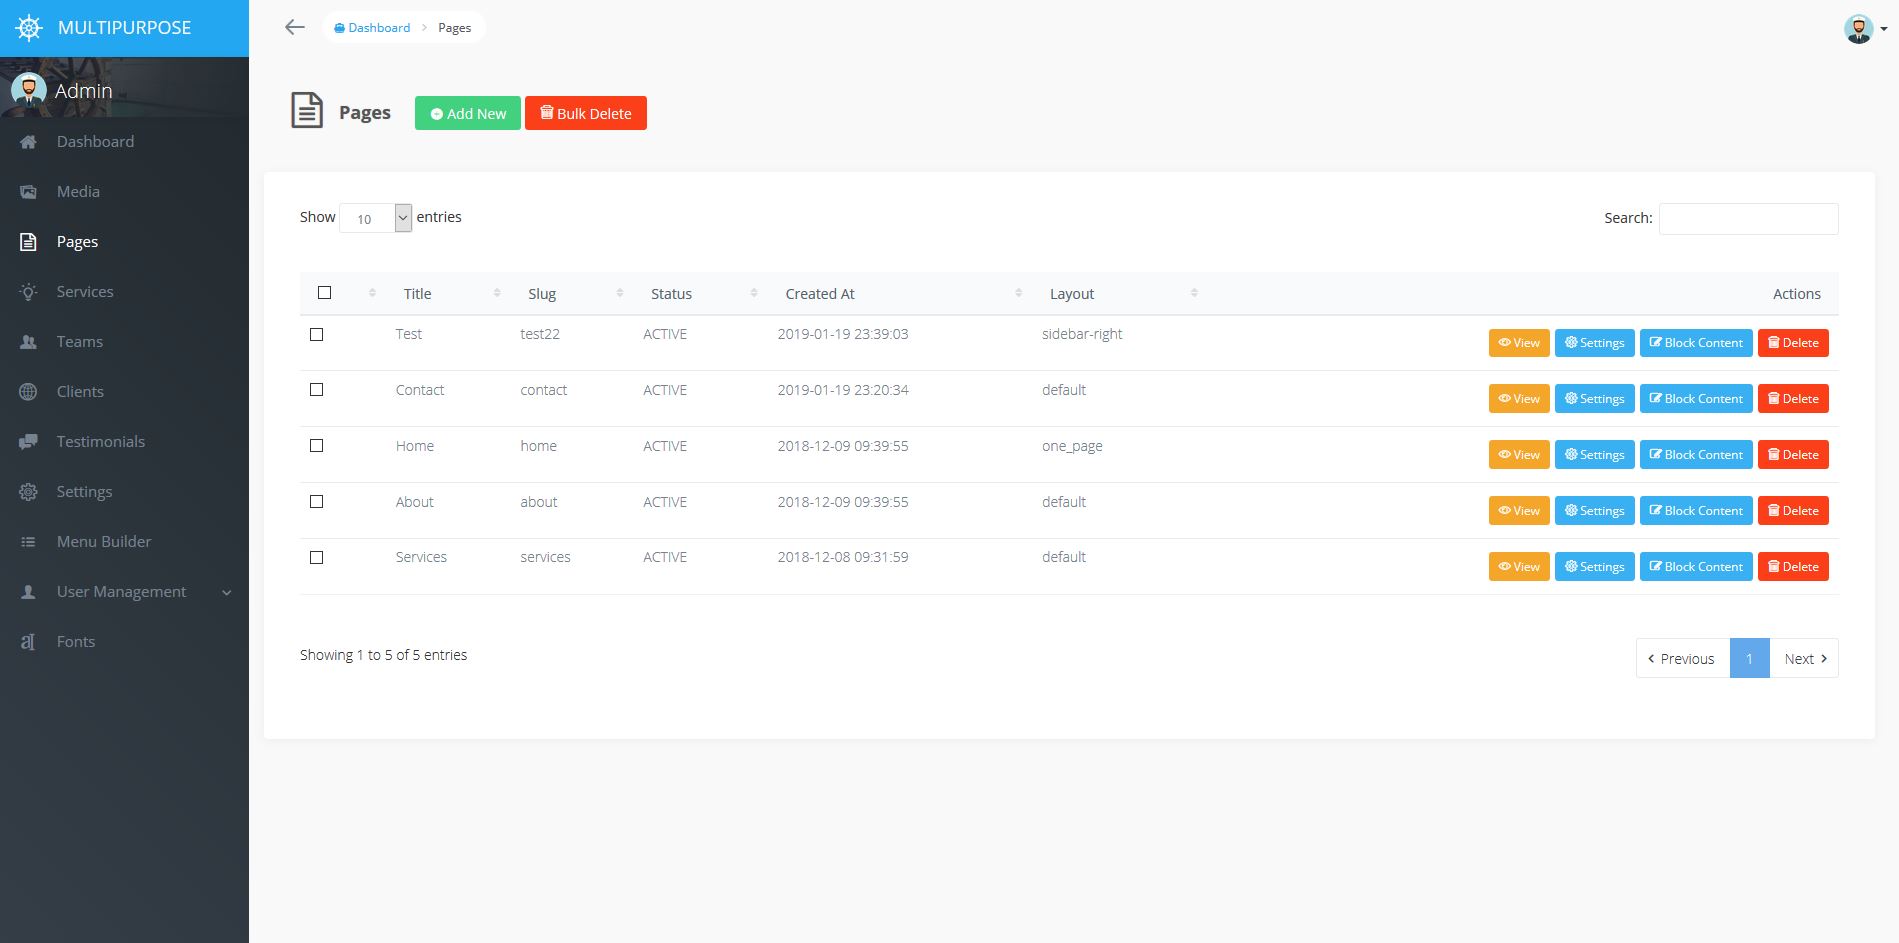
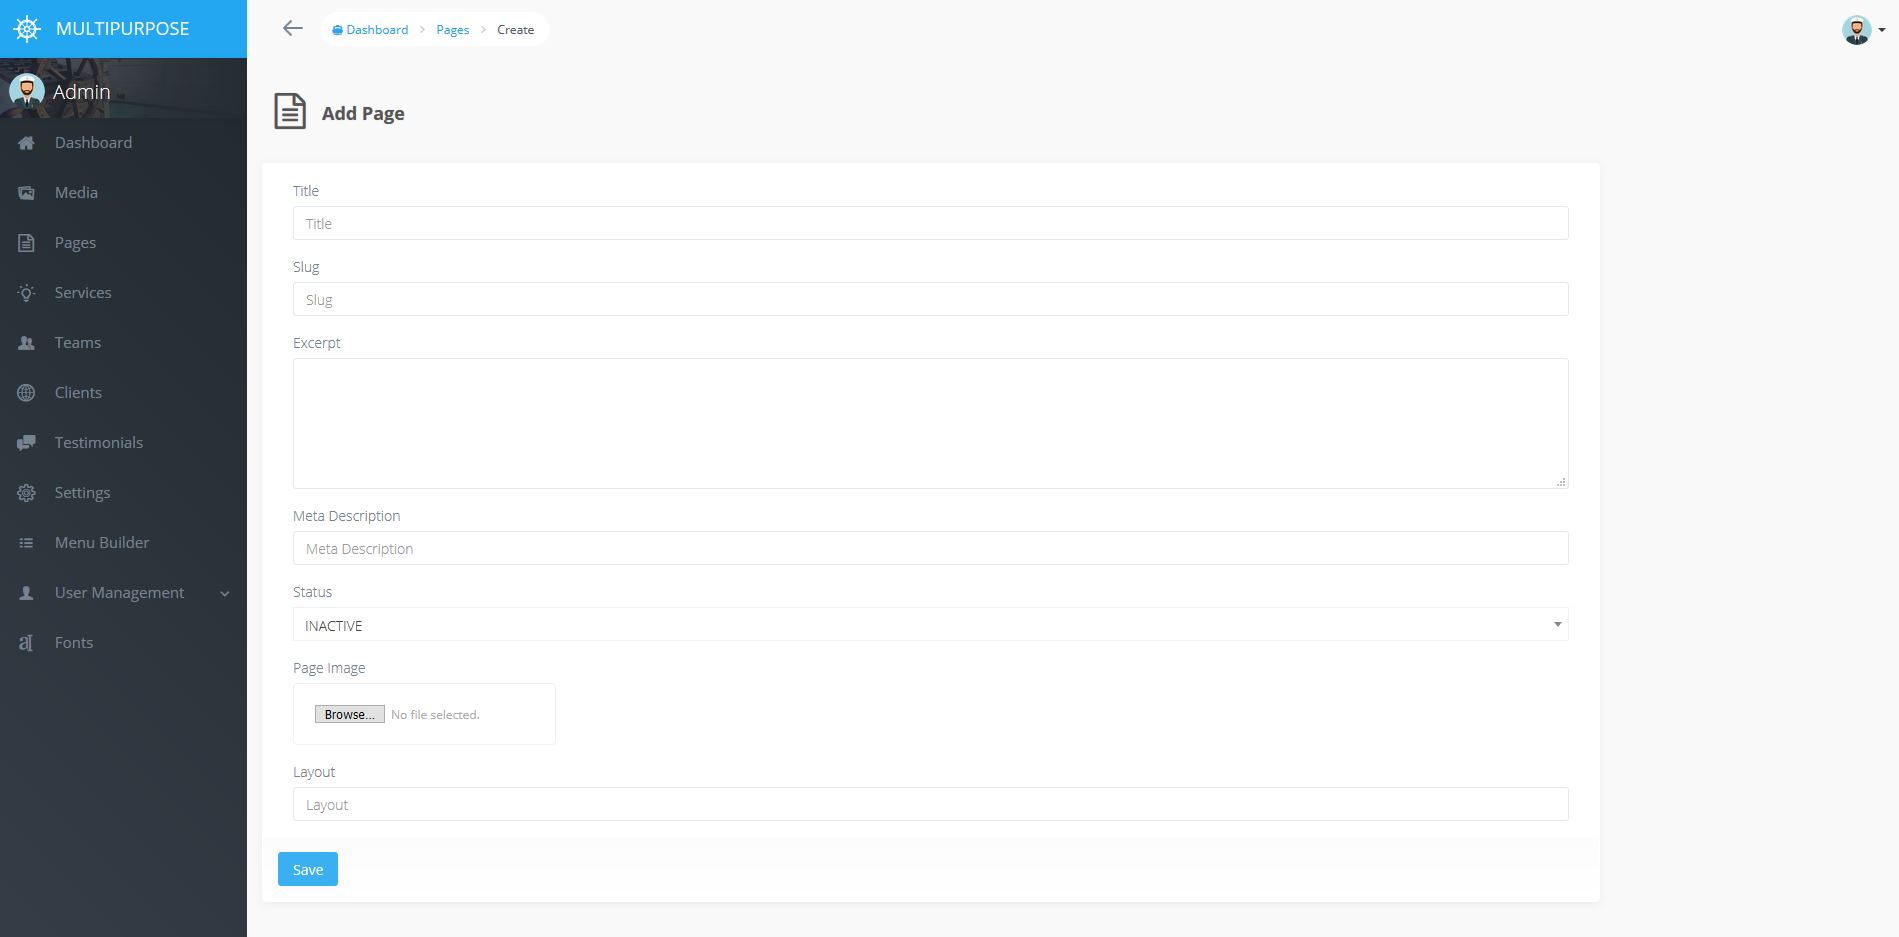
You may wish to add, edit, or delete pages for certain sections such as an about page or a contact page.
For Adding a new page click on Add New. It will appeare as folowing:
It will redirect you to Page Lists. Click Setting button of your desire page.
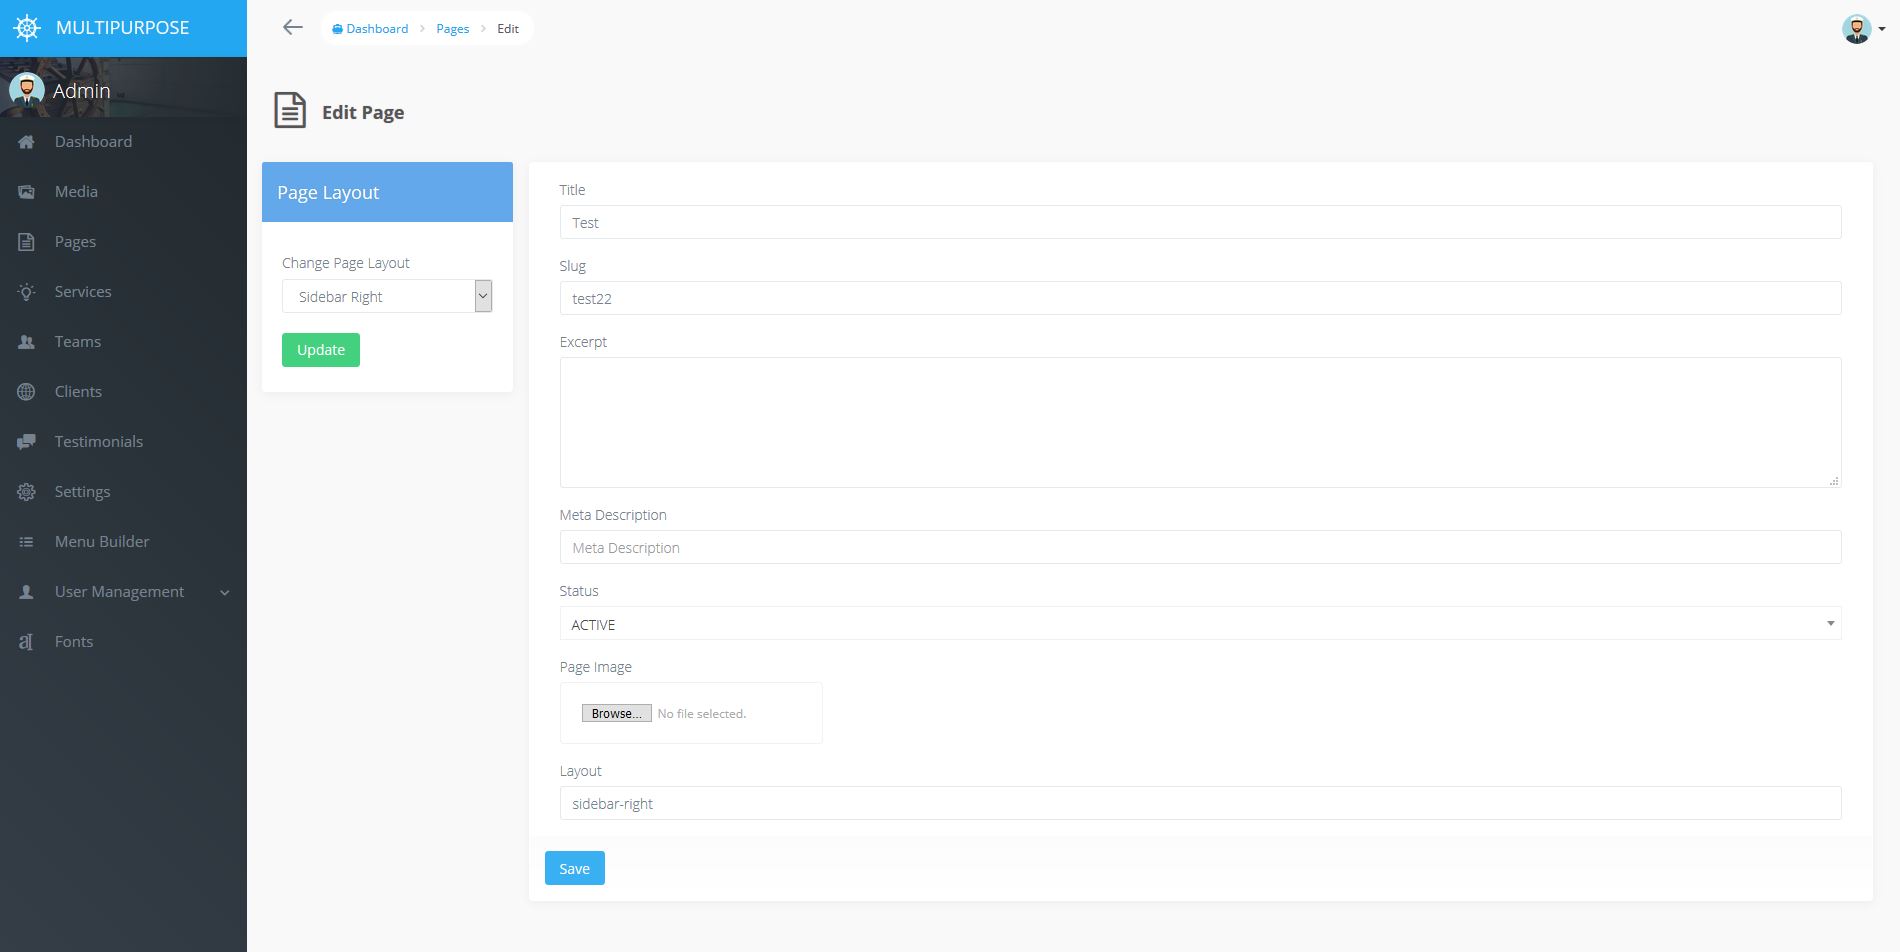
Now change page layout to your desire layout and click update. Then change Status Inactive to Active. And then Click Save. It'll redirect you to page list.
After saving your page settings, now click Block Content of your desire page.
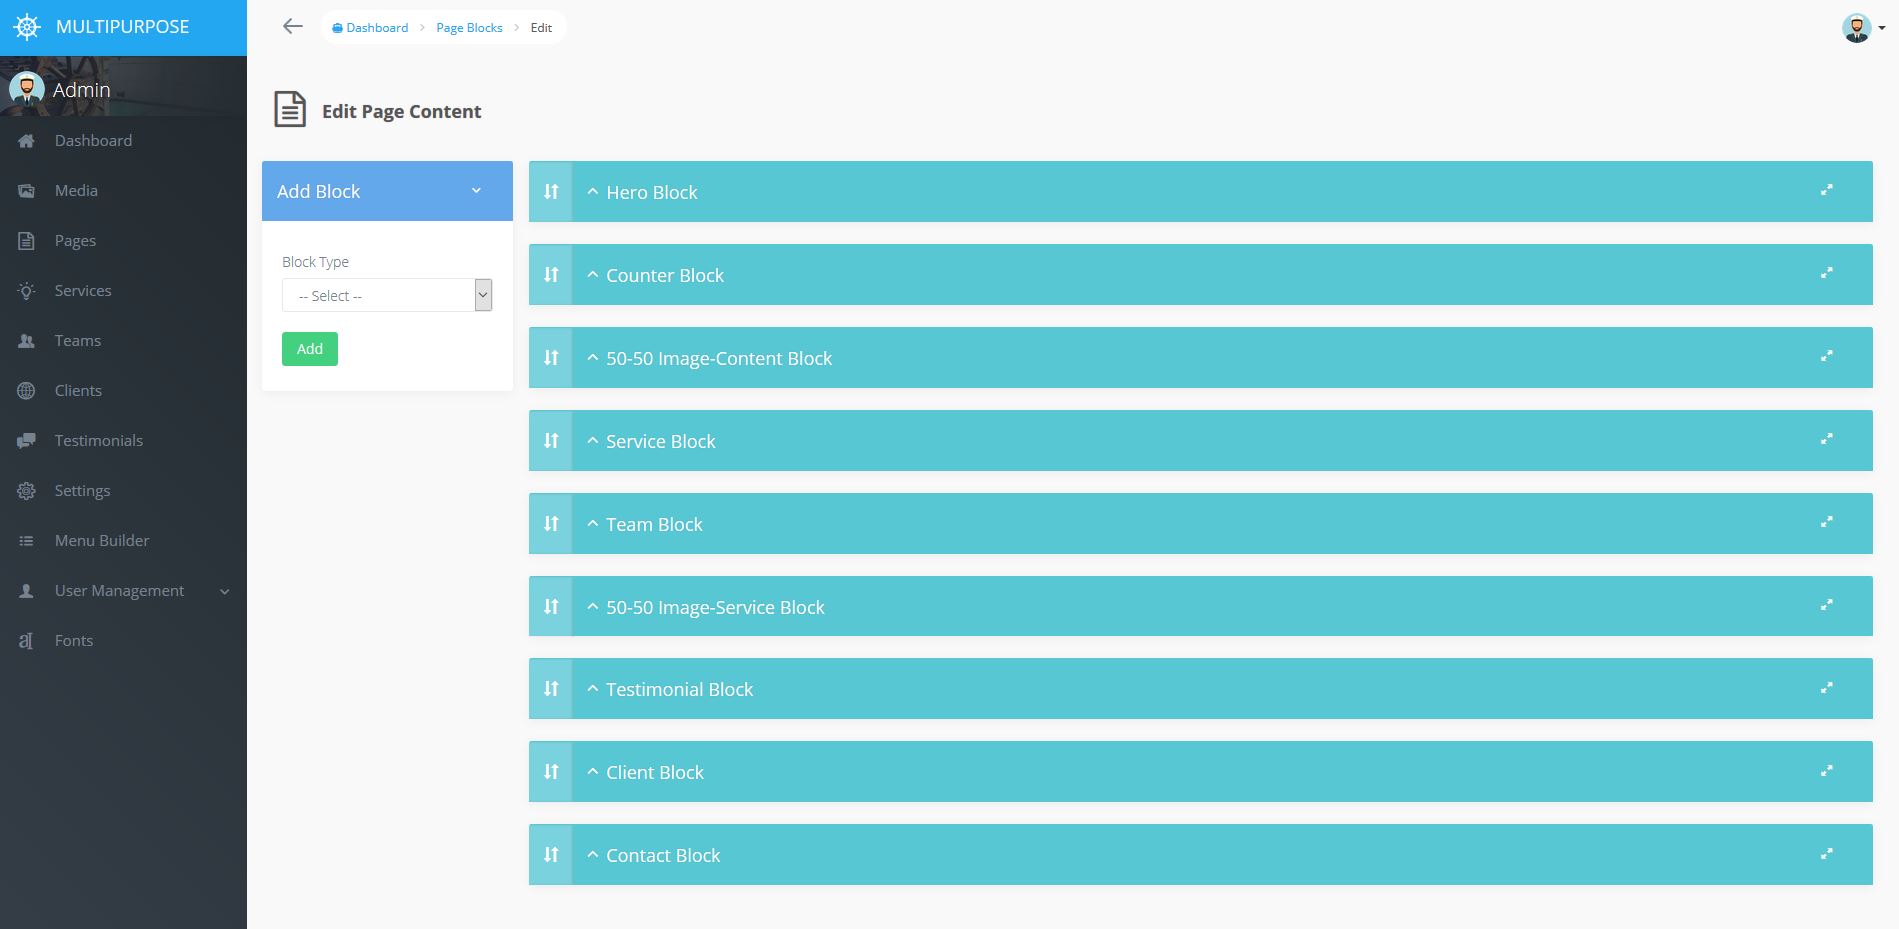
Choose your desired block from left and click add. The block section will appeare on the screen. Now you can change the block section values with your values. Save Block individually.
Now you can browse your page from front-end visiting site.com/your_page_slug
Services

The service section will allow you to Browse, Read, Edit, Add, and Delete services on your site.
If you would like to add a new service you can click ‘Add New’ and you will see the following screen.
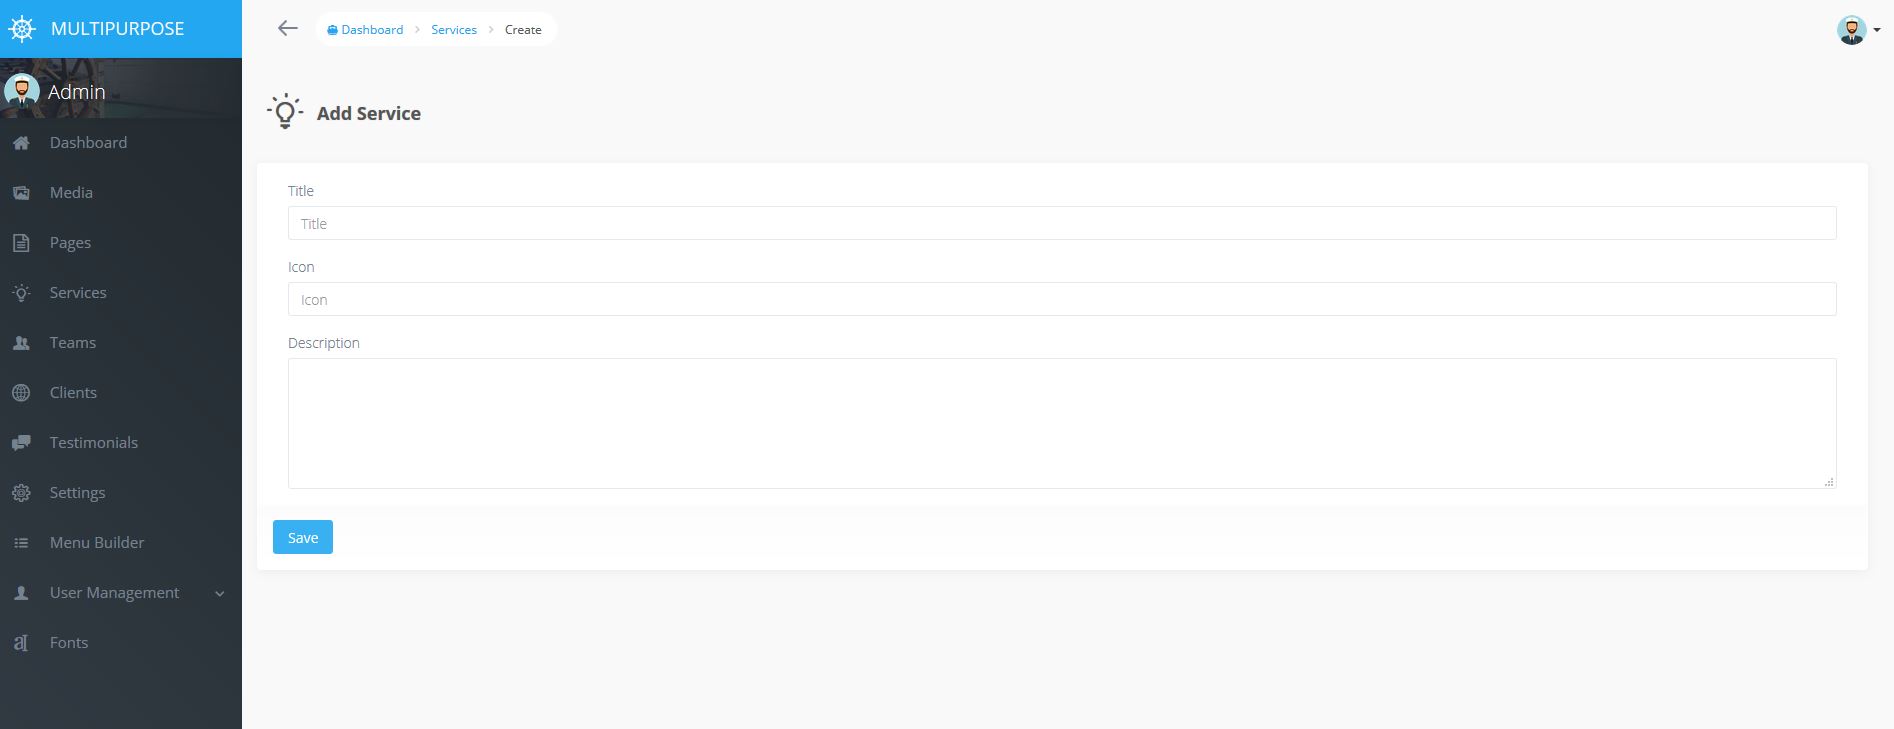
Simply, fill out all the info and add your new service.
Now you can browse your page from front-end page where Service Block added.
Teams

The team section will allow you to Browse, Read, Edit, Add, and Delete team member on your site.
If you would like to add a new team member you can click ‘Add New’ and you will see the following screen.
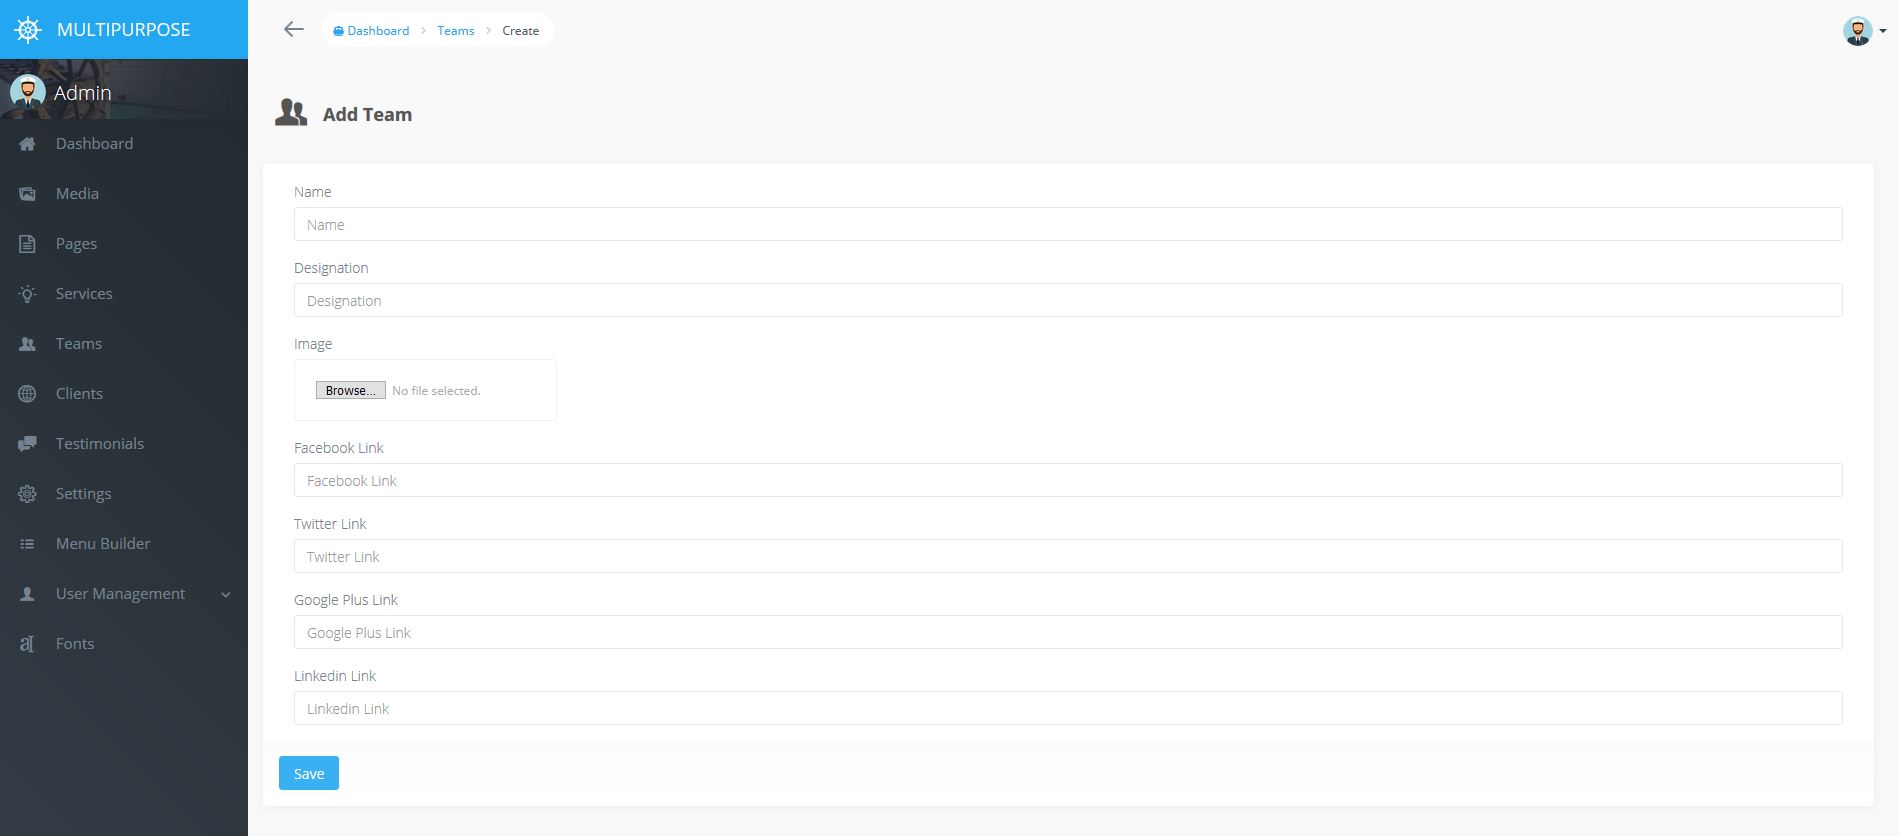
Simply, fill out all the info and add your new team member.
Now you can browse your page from front-end page where Team Block added.
Clients
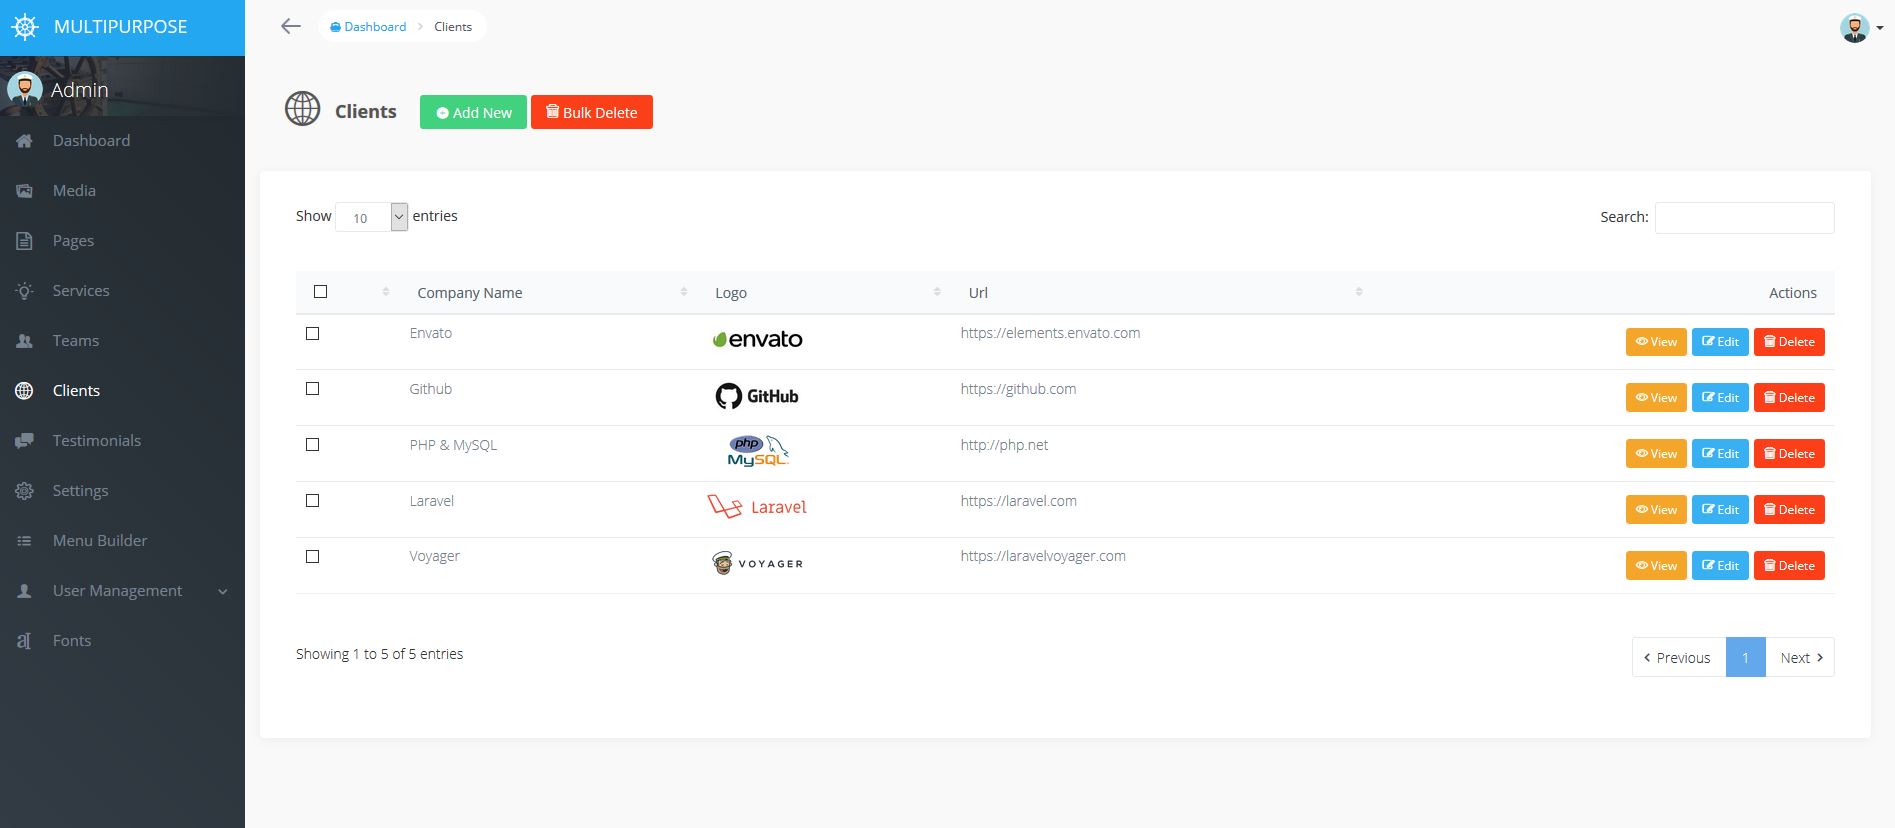
The client section will allow you to Browse, Read, Edit, Add, and Delete clients on your site.
If you would like to add a new client you can click ‘Add New’ and you will see the following screen.
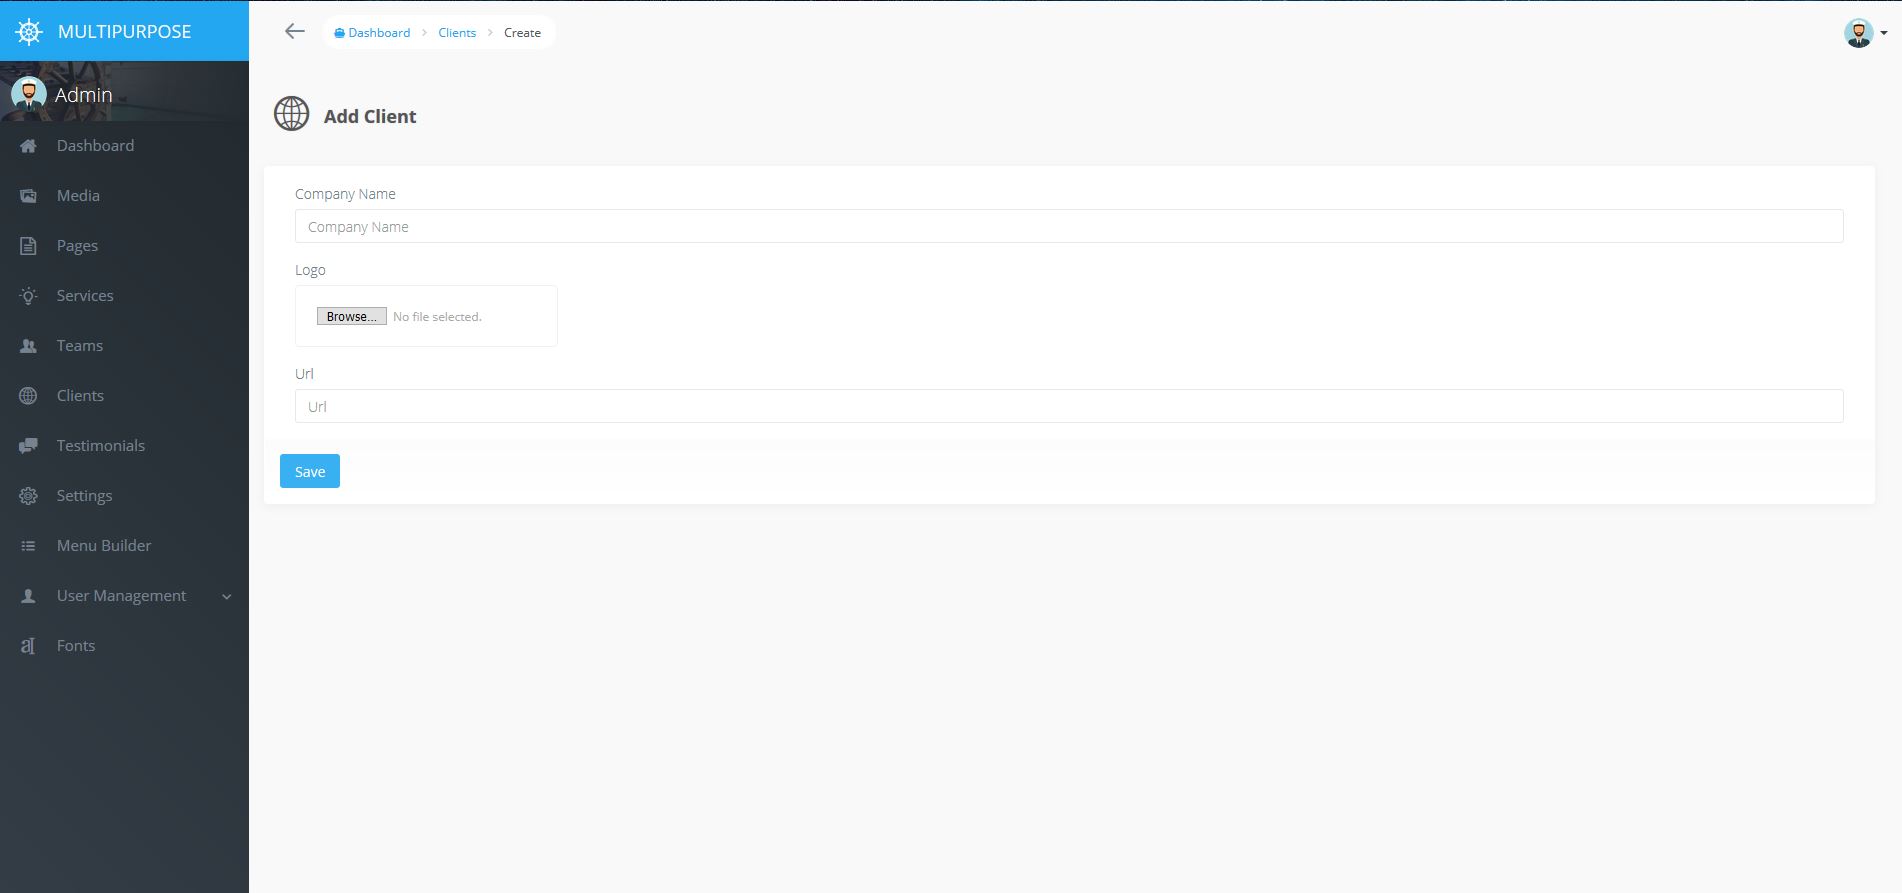
Simply, fill out all the info and add your new client.
Now you can browse your page from front-end page where Client Block added.
Testimonials

The testimonial section will allow you to Browse, Read, Edit, Add, and Delete testimonials on your site.
If you would like to add a new testimonial you can click ‘Add New’ and you will see the following screen.

Simply, fill out all the info and add your new testimonial.
Now you can browse your page from front-end page where Testimonial Block added.
Settings
The settings section allows you to customize different aspects of your site including the logo and themes. Continue reading more below to learn how to configure and customize your site.
Menu Builder
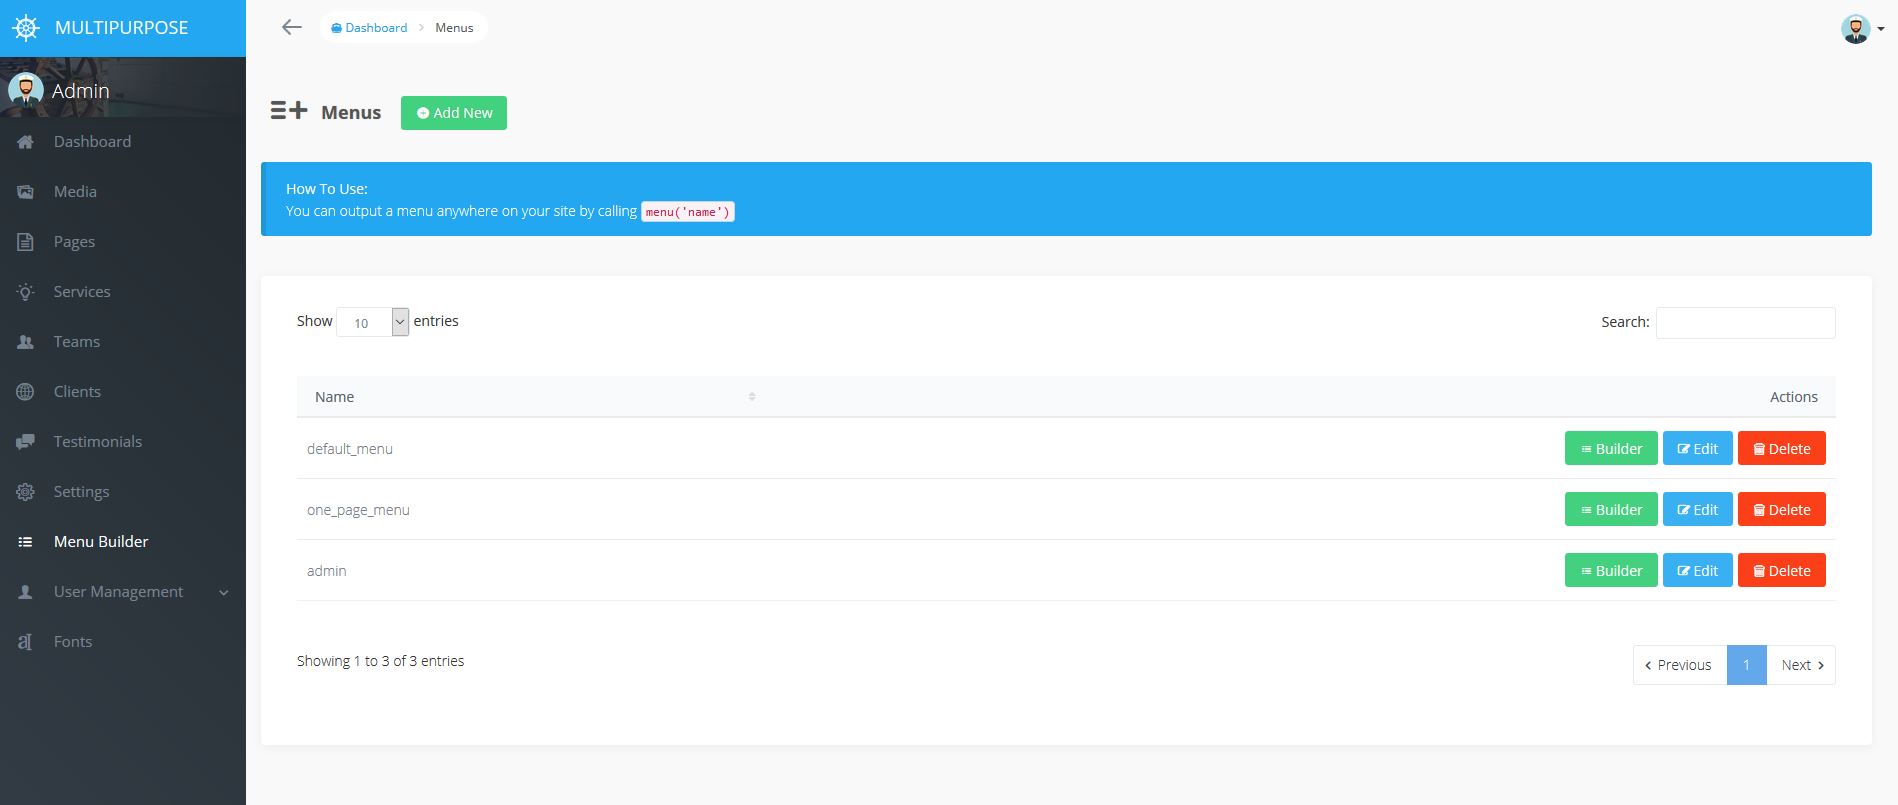
Using the Menu builder you can create multiple menus to use throughout your site. There are currently 3 menus that you will see.
- default_menu is the front-end top navigation of your site for multi-page template.
- one_page_menu is the front-end top navigation of your site for one page parallex template.
- admin is the back-end menu that you currently see in your admin.
When you click on the green Builder button you will be taken to the builder page for that menu.
In the Menu Builder section you can drag and drop current menu items to the position you would like them to appear. You can also Add, Edit, or Delete menu items from that particular menu.
User Management
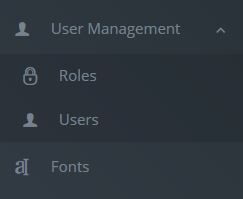
Roles
Each user has a role that allows them access to different sections of the apps. Currently in Multipurpose CMS there are 2 roles which is a Normal User and an Admin User. A Normal User only has access to all the front-end sections of your site; whereas the Admin User has access to both the front-end and the back-end admin of the website.
Users
In the users section you can view all the current users on your website. Additionally you will see your admin user in this list. You can edit or delete any user from your site from the user section.
Fonts
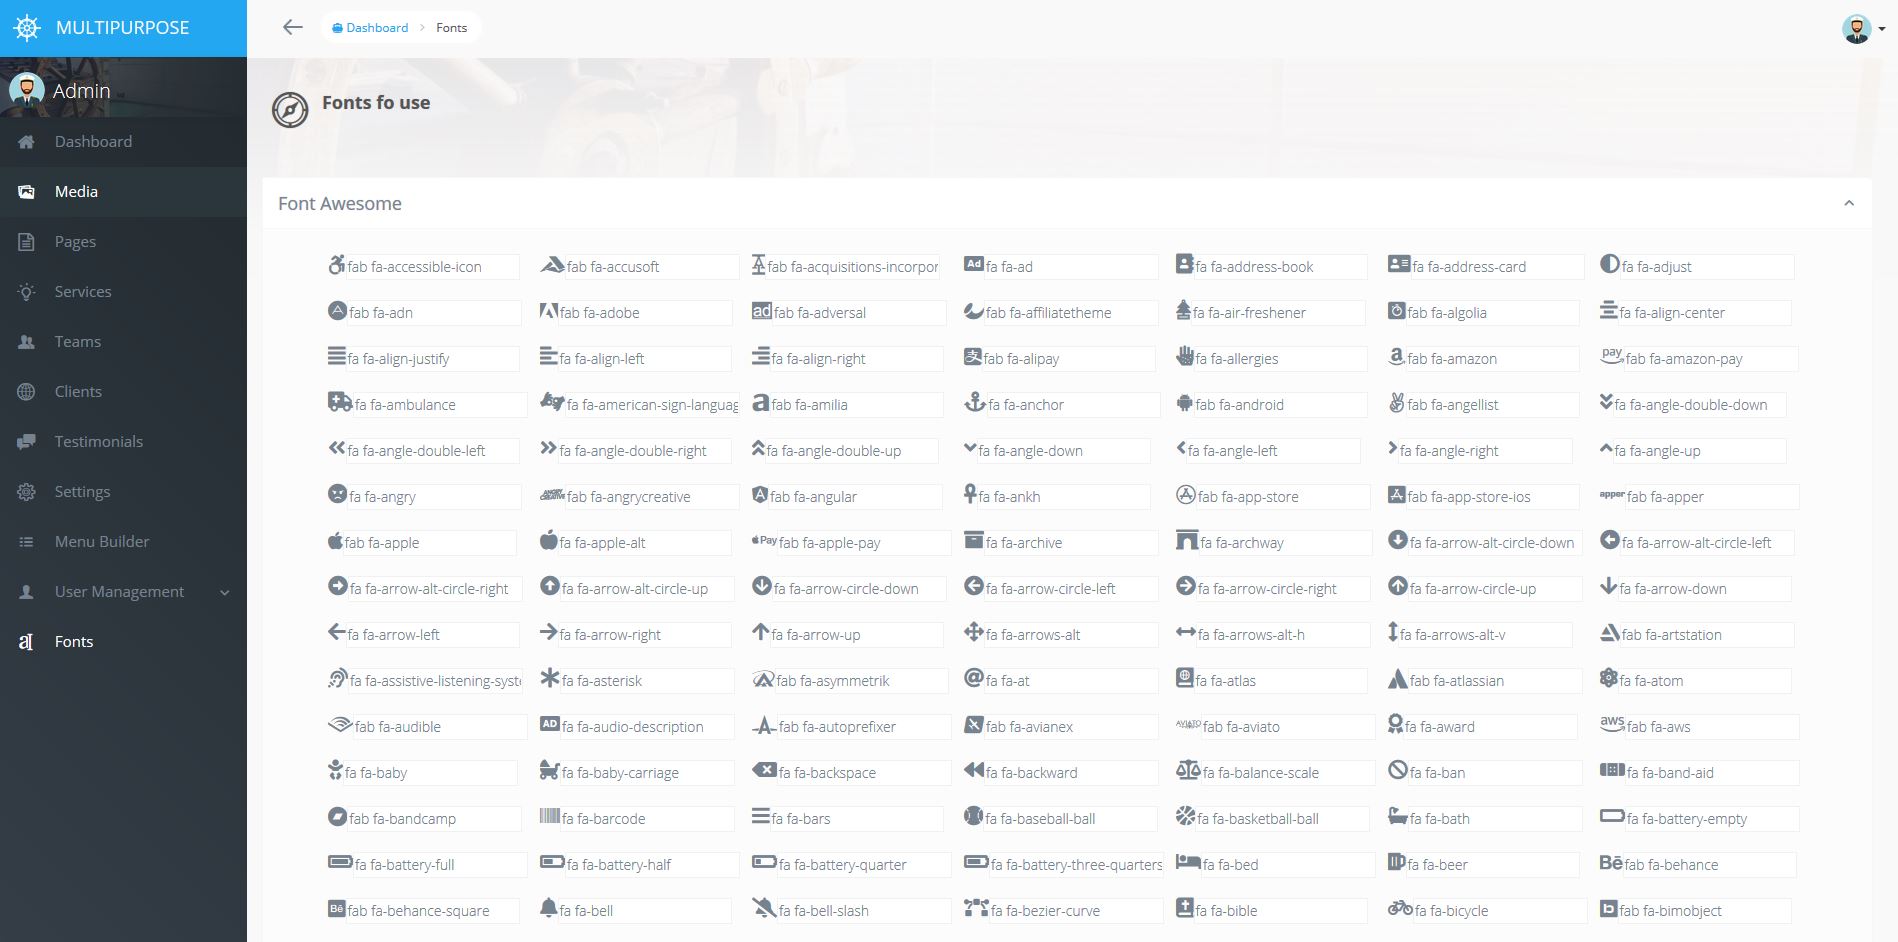
Use this fonts of font awesome for using font icon where you needed to show on front-end.
Configuration
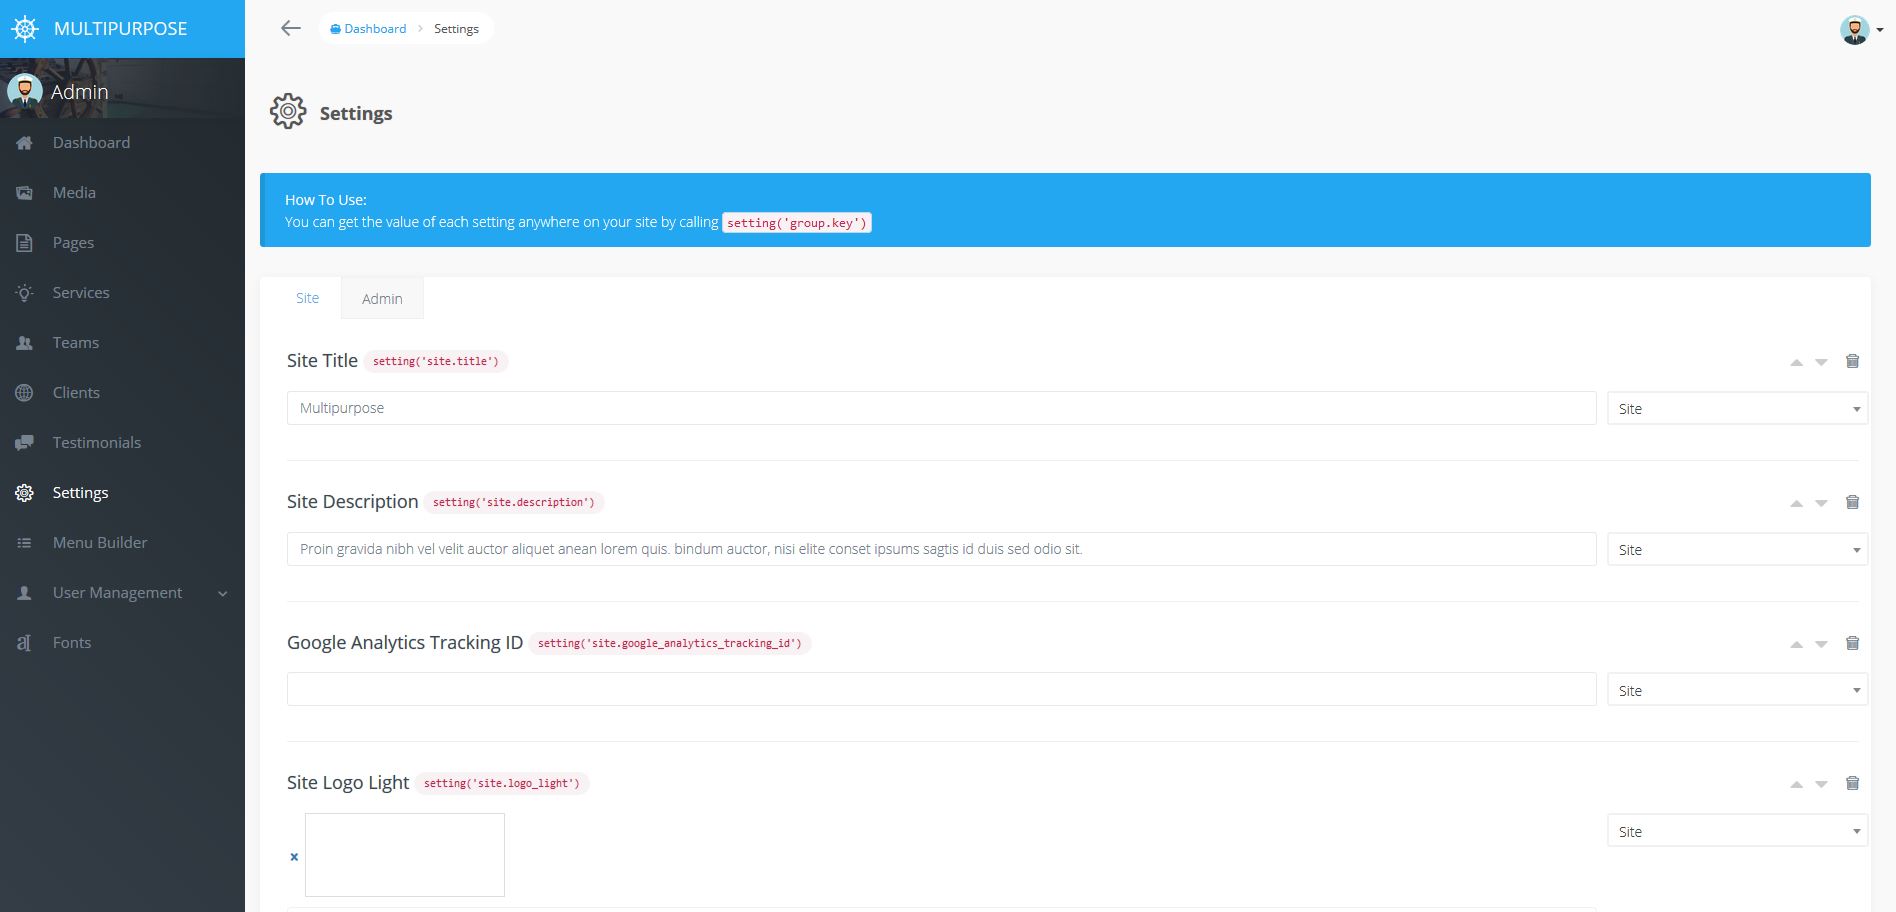
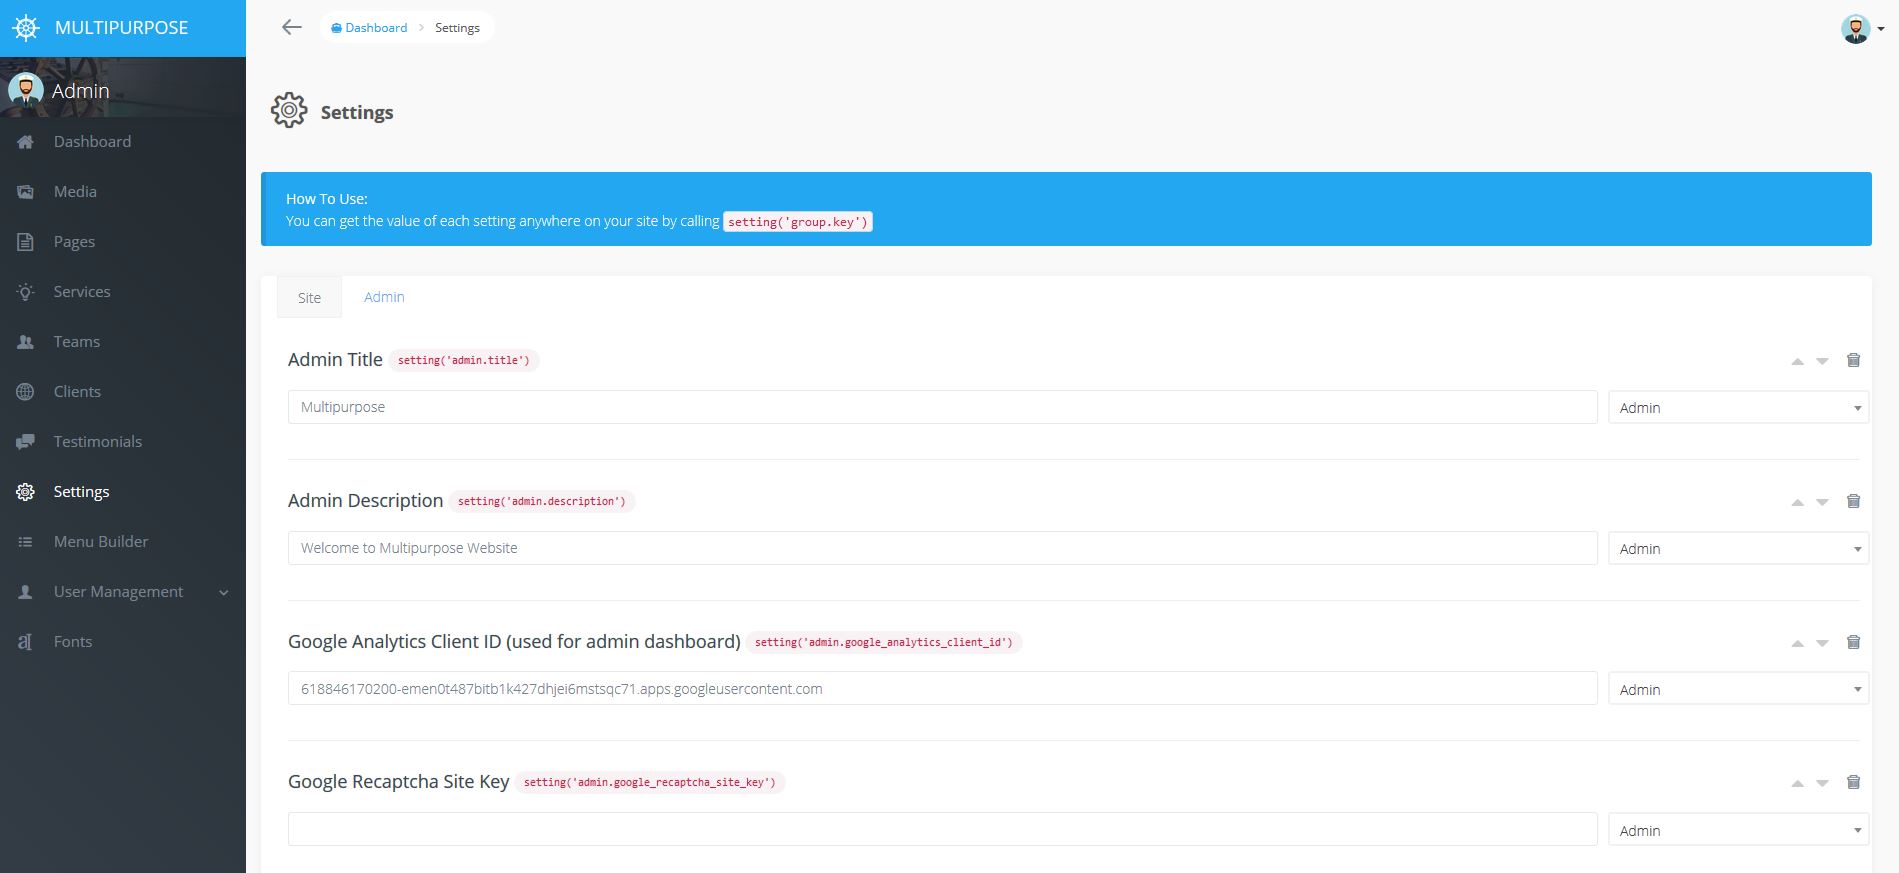
There are many configurations or customizations you can change on your site. To change these customizations you will want to visit yoursite.com/admin/settings and you will be able to modify the current configurations.
Site Title This is the title of your site and this will show up in the header title of your homepage.
Site Description This is a description of your site and this will be used as the meta description for your site homepage.
Google Analytics Tracking ID This is by which you can track your site traffic. This is the front-end analytics code for your site.
Site Logo Light You can upload your own logo to show up on the front-end of the site. For best results upload a PNG image with the dimensions around 210x84 pixels. This will gaurantee that your logo will look nice on HD devices.
Site Logo Dark You can upload your own logo to show up on the front-end of the site. For best results upload a PNG image with the dimensions around 210x84 pixels. This will gaurantee that your logo will look nice on HD devices.
Favicon This is the small logo that will be shown at the top left of the browser tab. Typically you will upload a small image that is 16x16 pixels 32x32 pixels or 48x48 pixels. Either one should work.
Twitter This is the Twitter link of your site and this will show up in the footer of your site.
Facebook This is the Facebook link of your site and this will show up in the footer of your site.
LinkedIn This is the LinkedIn link of your site and this will show up in the footer of your site.
Pinterest This is the Pinterest link of your site and this will show up in the footer of your site.
Address This is the physical address your site and this will show up in the footer of your site.
Phone This is the phone your site and this will show up in the footer of your site.
Email This is the email your site and this will show up in the footer of your site. And Consultation Block will redirect mail on this email of your's.
Admin Title This is the title that will show up in the admin header and login page of your site.
Admin Description This is the description that will be shown on the admin login screen.
Google Analytics Client ID This is to view analytics of your site.
Admin Loader This is the loading image that will be shown on the admin when page is loading.
Admin Icon Image This is the icon image that will be shown on the admin screen.
Admin Background Image This is the background image that will be shown on the admin login screen.
Troubleshooting
If you are having any troubles with your site please try the following commands to see if it will resolve any of them.
Make sure your storage link is linked correctly If you are not seeing images on your site you may need to run the following command from the root folder of your app.
php artisan storage:link
Make sure your system meets the minimum requirements You can check the system requirements above against the software you have on your server.
Still having an issue or a problem? contact with us at info@technoviable.com